How to Replace a Hard Drive in a Laptop

Introduction
If your laptop is running out of storage space or if your hard drive has malfunctioned, it may be time to replace it. Replacing a hard drive in a laptop is a relatively simple process that you can do yourself with the right tools and knowledge. In this article, we will guide you through the step-by-step process of replacing a hard drive in a laptop.
Step 1: Prepare
Before you start, make sure to back up all your important files and data to an external storage device or a cloud-based service. This will ensure that you don’t lose any important data during the hard drive replacement process.
Step 2: Acquire a New Hard Drive
Next, you will need to purchase a new hard drive that is compatible with your laptop. Check your laptop’s manual or the manufacturer’s website to find the right type and size of hard drive that you need.
Once you have purchased the new hard drive, gather the necessary tools for the replacement process, which may include a screwdriver, an anti-static wrist strap, and an external hard drive enclosure.
Step 3: Remove the Old Hard Drive
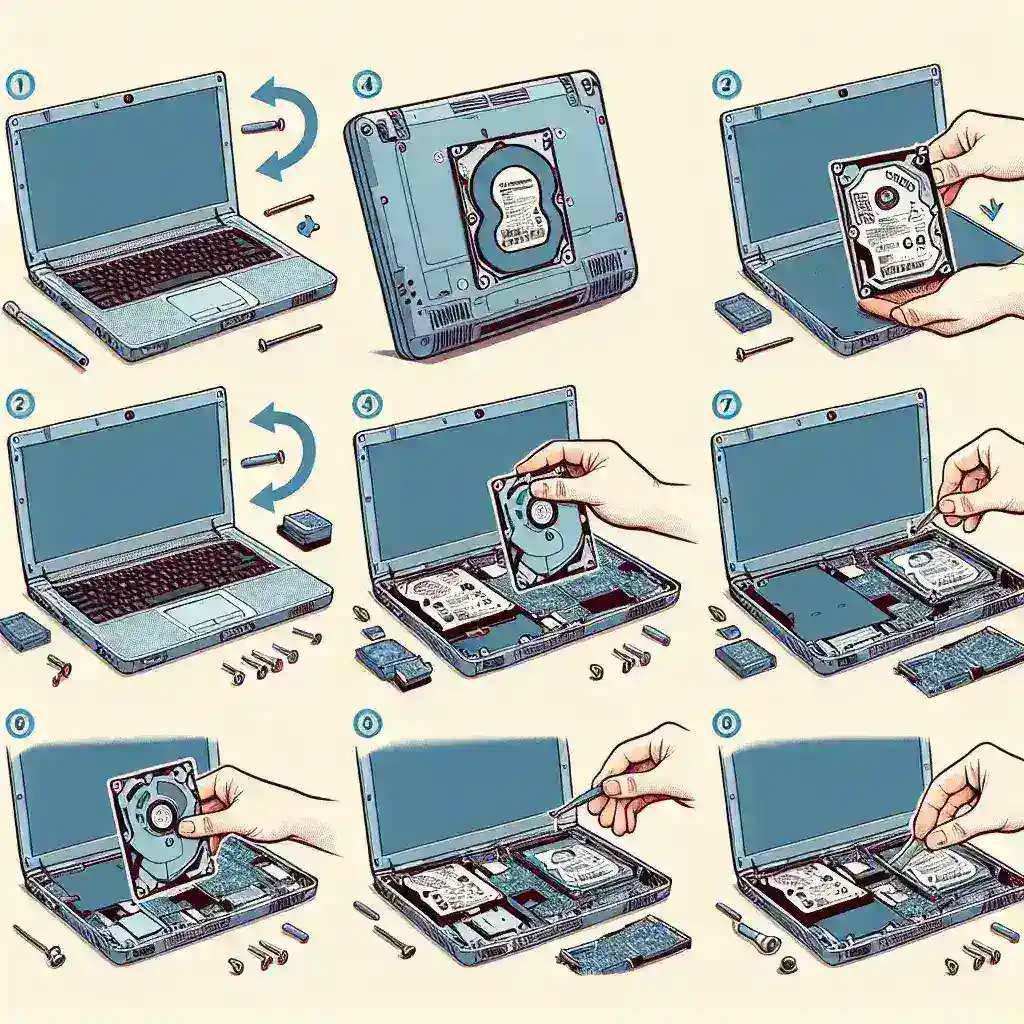
Start by shutting down your laptop and disconnecting it from the power source. Then, remove the battery and locate the old hard drive. It is usually located in a compartment on the bottom or side of the laptop.
Remove any screws or brackets that are holding the hard drive in place. Carefully disconnect the cables connected to the hard drive and remove it from the compartment.
Step 4: Install the New Hard Drive
Take the new hard drive and connect the cables that were previously connected to the old hard drive. Make sure that they are securely plugged in.
Place the new hard drive in the compartment and secure it with screws or brackets. Double-check that everything is properly connected and secured.
Step 5: Test and Reassemble
Before reassembling the laptop, it is important to test the new hard drive. Connect the laptop to a power source and turn it on. Check if the new hard drive is recognized by the system and if it is functioning properly.
If everything looks good, reassemble the laptop by putting the battery back in and securing all the screws and connectors.
Step 6: Restore Your Data
Finally, restore your files and data from the backup. Transfer them back onto the new hard drive or access them from the cloud-based service where you stored them.
Conclusion
By following these steps, you can easily replace a hard drive in your laptop without the need for professional help. Remember to take your time and be gentle when handling the delicate components of your laptop. With a new hard drive, you can enjoy increased storage capacity and improved performance.
Leave a Reply