How to Connect Cricut to Computer
Introduction
If you own a Cricut machine, you know how versatile and powerful it can be in helping you bring your creative ideas to life. Whether you are a seasoned crafter or just starting out, connecting your Cricut to your computer can open up a whole new world of creative possibilities. In this article, we will guide you through the process of connecting your Cricut machine to your computer.
Step 1: Check System Requirements
Before connecting your Cricut machine to your computer, it is important to ensure that your computer meets the system requirements. Visit the Cricut website or consult the user manual to find the specific requirements for your machine model. These requirements usually include the operating system, available USB ports, and internet connection options.
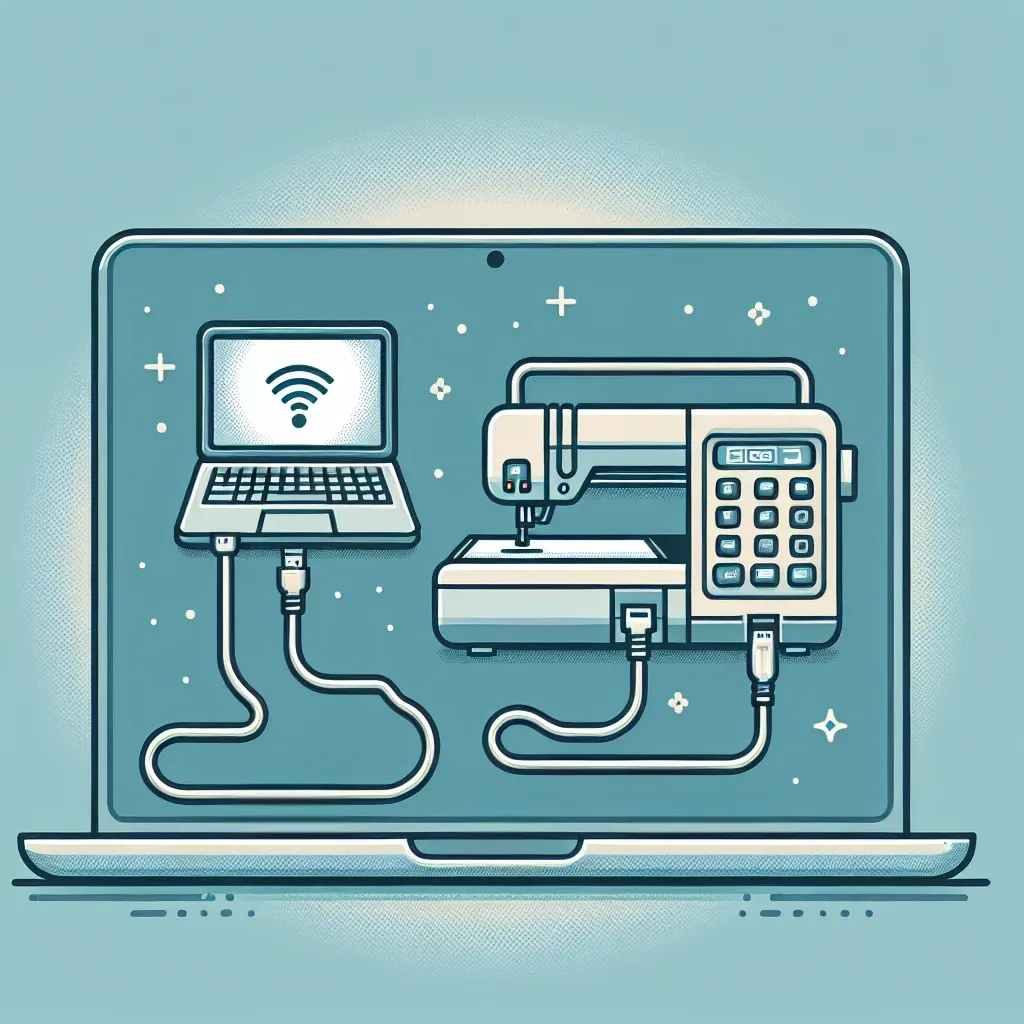
Step 2: Gather Necessary Accessories
To connect your Cricut machine to your computer, you will need a USB cable that is compatible with your machine. Check if your machine uses a standard USB-A or a USB-B cable and make sure you have the appropriate cable on hand. If you don’t have the necessary cable, you can find one at an electronics store or order it online.
Step 3: Connect your Cricut Machine
Once you have the required cable, follow these steps to connect your Cricut machine to your computer:
- Make sure your Cricut machine is turned off.
- Locate the USB port on your Cricut machine. It is usually located at the back or side of the machine.
- Plug one end of the USB cable into the USB port on your Cricut machine.
- Locate the USB port on your computer and plug the other end of the USB cable into it.
- Turn on your Cricut machine.
Step 4: Install Design Software
To fully utilize the capabilities of your Cricut machine, you will need to install the design software. Cricut offers its own design software called Design Space, which is available for free download on their website. Follow the instructions provided by Cricut to download and install the software on your computer.
Step 5: Connect to Design Space
Once the software is installed, open it on your computer. Create an account or log in if you already have one. Follow the on-screen instructions to connect your Cricut machine to Design Space. This step usually involves pairing your machine with the software using Bluetooth or a wireless connection.
Step 6: Start Creating
With your Cricut machine successfully connected to your computer, you are now ready to start creating. Design Space provides a wide range of design options, including ready-to-make projects and the ability to upload your own designs. Explore the various features and tools available in Design Space to unleash your creativity.
Conclusion
Connecting your Cricut machine to your computer is a simple process that allows you to take your crafting to the next level. By following the steps outlined in this article, you can unlock a world of creative possibilities and make the most out of your Cricut machine. So, go ahead, connect your Cricut, and let your imagination run wild!
Leave a Reply